
Edge Lit CNC Sign Project
Recently I made an Edge Lit CNC Sign Project for a school musical. The theater director asked if I could make a lighted sign for the production in a short period of time. The curtain would raise in 3 weeks but the materials couldn’t be purchased for a week and a half.
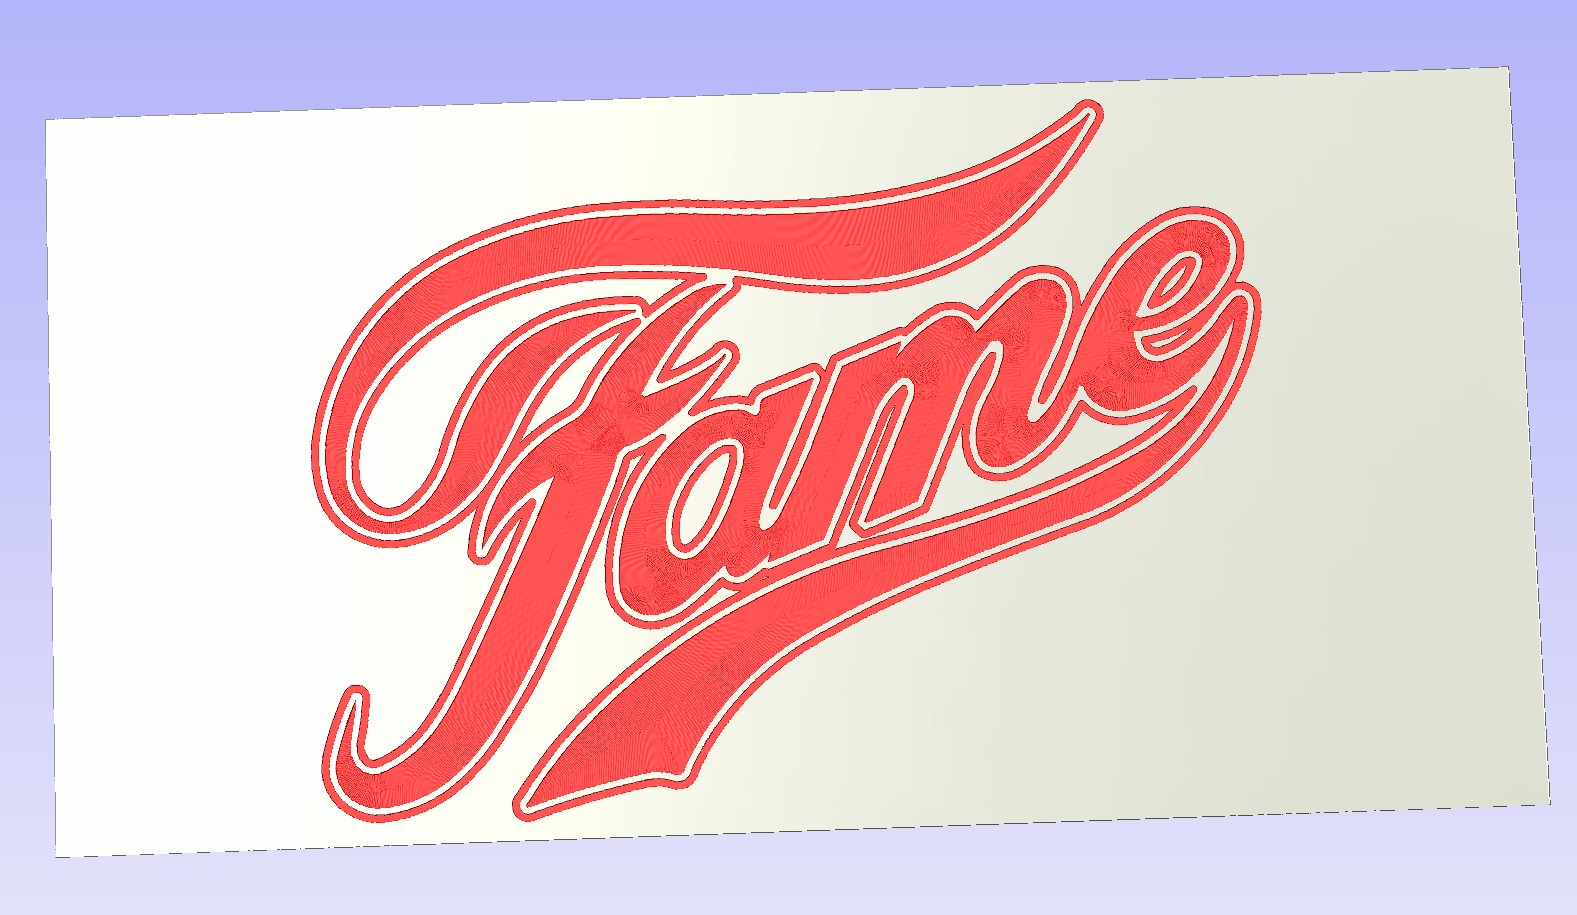
I took on the task and decided to get a head start on the project. I took the artwork the play director provided and began the design work for the sign using Vectric Aspire. I scanned in the image and then created vectors for the artwork. Then I hand edited the vectors to smooth out the details. Everything was going well and it looked like the sign design would be ready to cut as soon as the LED strips arrived……. Then disaster struck.

When I emailed the director a preview of the sign, he shared it with the set designer. The set designer panicked. The director had given me the wrong artwork and the set designer needed the design changed to match the rest of the sets. I was back to square one on the design but luckily I hadn’t begin to cut the sign. I took the new design and created the vectors for the new logo. Verified the design with both the Director and the set designer made a few minor changes and was ready to cut. Having the ability to send photo realistic previews of the project to the client is a real time saver.
Since time was at a premium I decided to cut a test piece of acrylic so that I could dial in the correct speed and feed rate to give the sign the best finish. Acrylic is an unforgiving medium and you have to have everything perfect to get good, repeatable results. So I laid out several identical lines and cut each one at a different spindle speed and feed rate. I found the best looking line from this group and used those numbers when I set up my toolpaths. Taking the time to do this step saved me from experimenting with the finished piece.
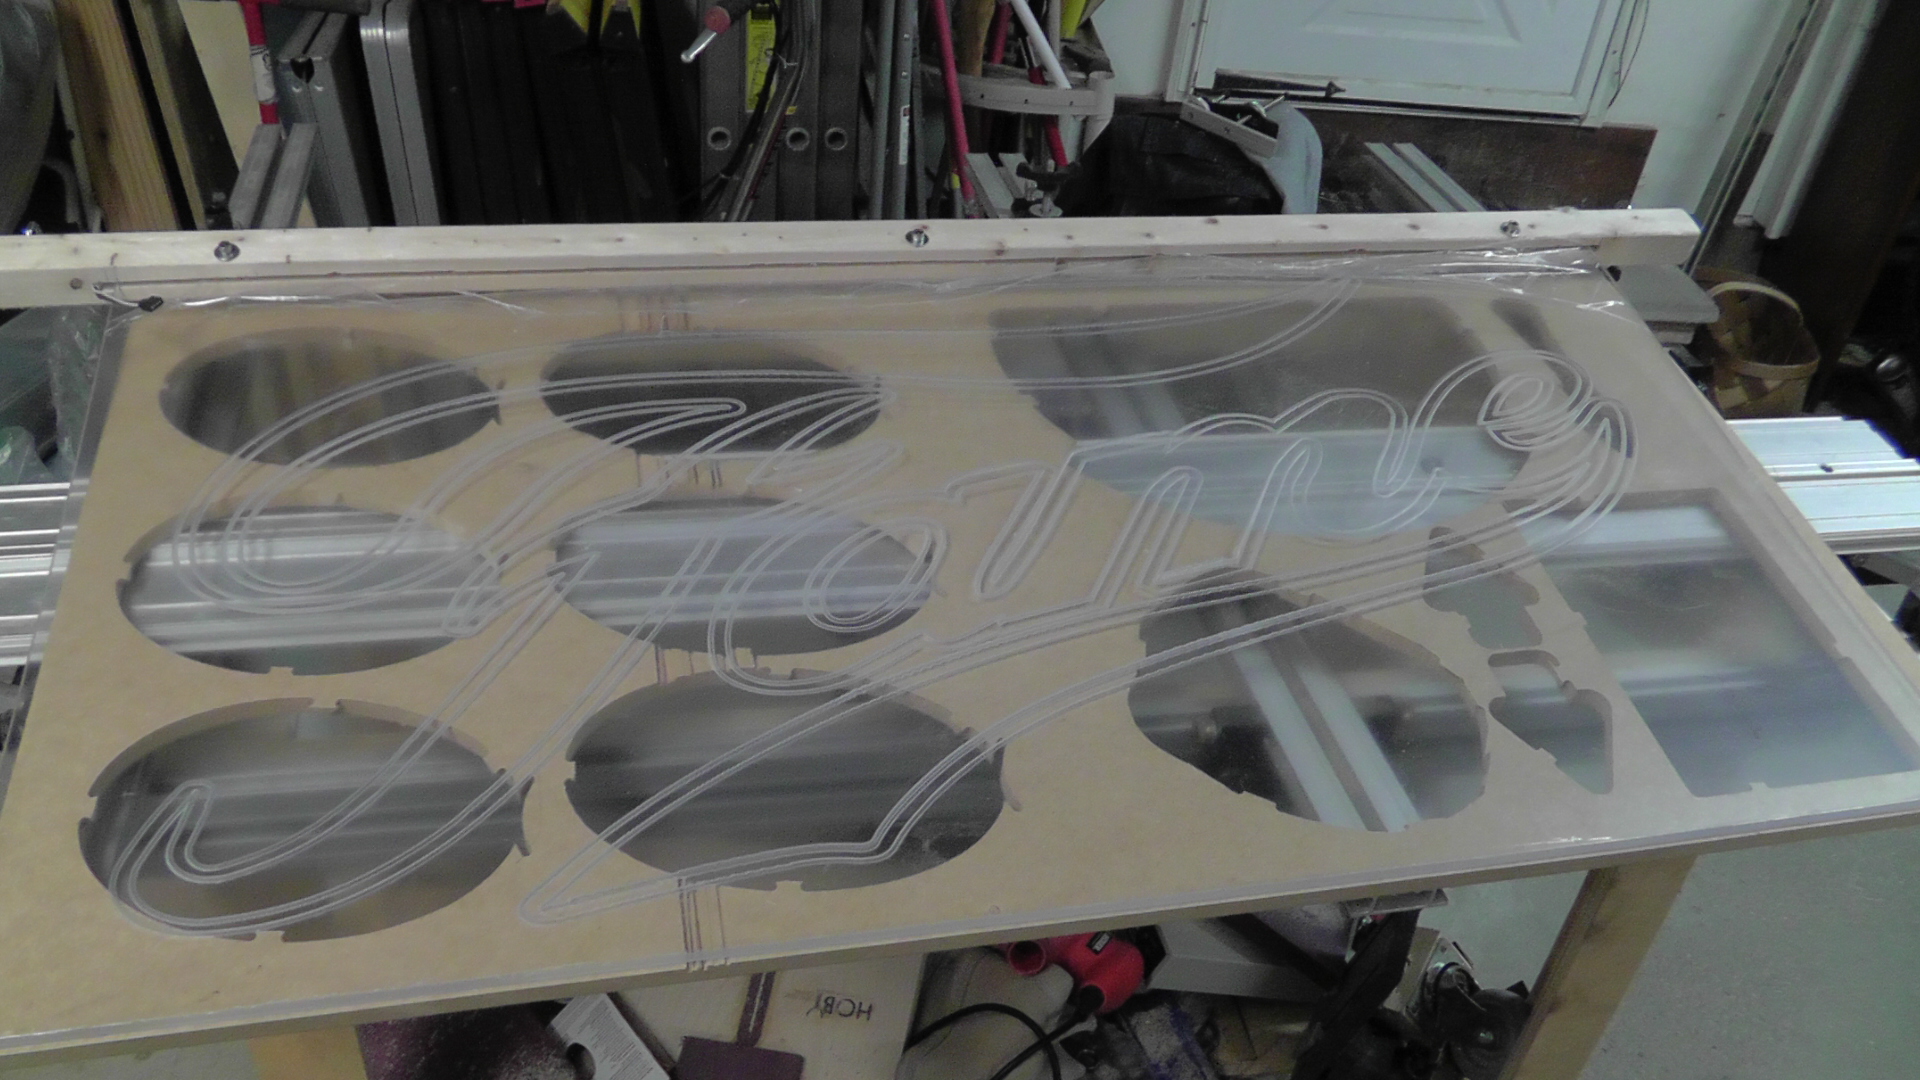
I cut the sign that evening and the design came together without a hitch. I drilled a few mounting holes in the plastic and put it aside while I made the light box.
Test fitting sign to the lightbox.
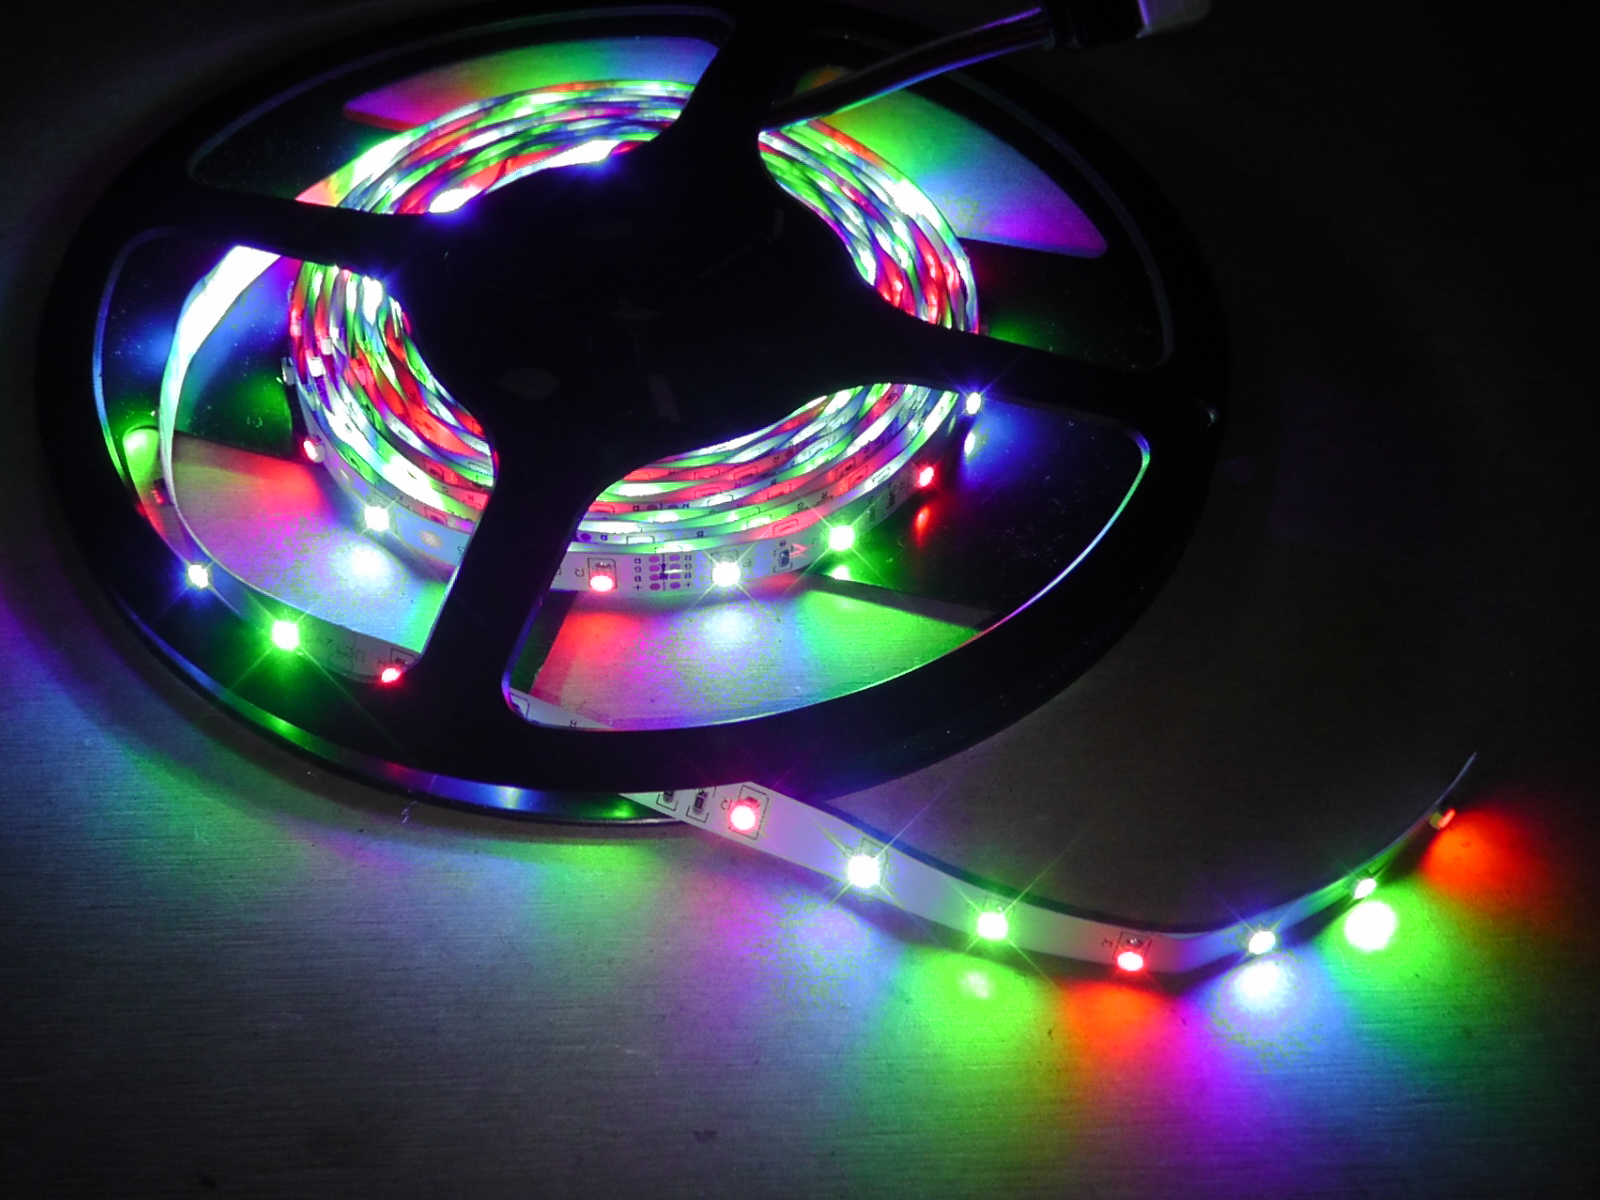
The light box is a fairly simple design I constructed of pine. I milled a dado into the pine and then drilled some mounting holes to match those of the plastic sign. I milled an access channel for the wiring and control box next. Once I completed the light box I installed the RGB LED strips into the dado slot and routed the wiring. I test fit all the components together and did a light test before painting the light box.
I delivered the sign early the following morning and helped the stage crew mount the sign prior to the evening rehearsal. Since I was able to deliver the sign a week ahead of schedule the group was able to rehearse with the sign prior and work out which lighting sequences worked best for the production. This was an interesting project and I learned a lot. I will not hesitate to take on another Edge Lit CNC Sign Project.
If you would like more information about how this process is done, why not leave me a question in the comment field?
